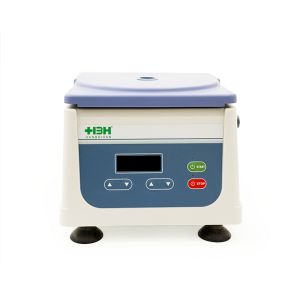
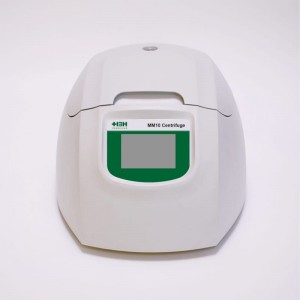
HBH PRP Centrifuge for 22-60ml PRP Tube


| Main Technical Parameters | |
| Model Number | HBHM9 |
| Max Speed | 4000 r/min |
| Max RCF | 2600 x g |
| Max Capacity | 50 * 4 cups |
| Net Weight | 19 kg |
| Dimension(LxWxH) | 380*500*300 mm |
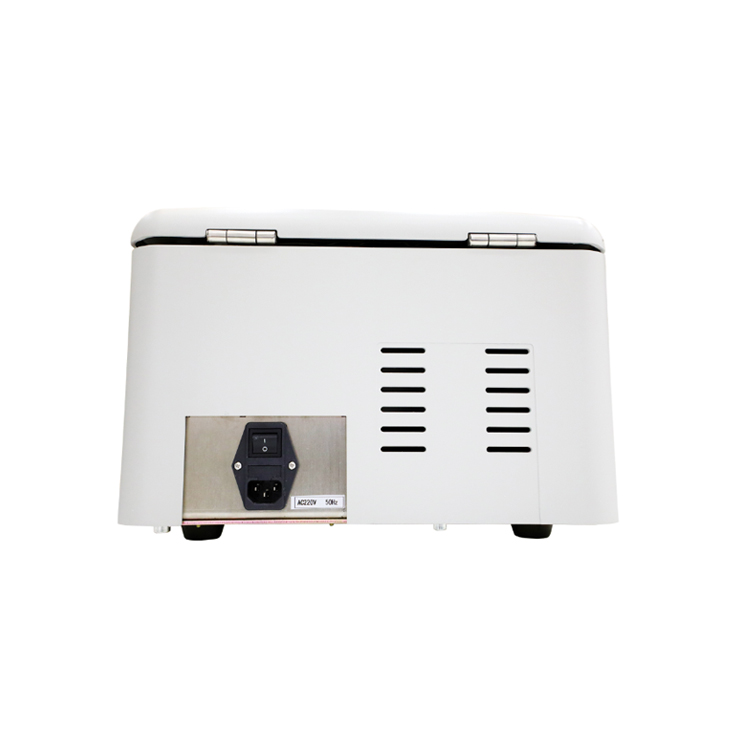
| Power Supply | AC 110V 50/60HZ 10A or AC 220V 50/60HZ 5A |
| Range of Time | 1~99 min |
| Speed Accuracy | ±30 r/min |
| Noise | < 65 dB(A) |
| Available Tube | 10-50 ml Tube
10-50 ml Syringe |
| Rotor Options | |
|
Rotor Name |
Capacity |
|
Swing Rotor |
50 ml * 4 cups |
|
Swing Rotor |
10/15 ml * 4 cups |
|
Adaptor |
22 ml * 4 cups |
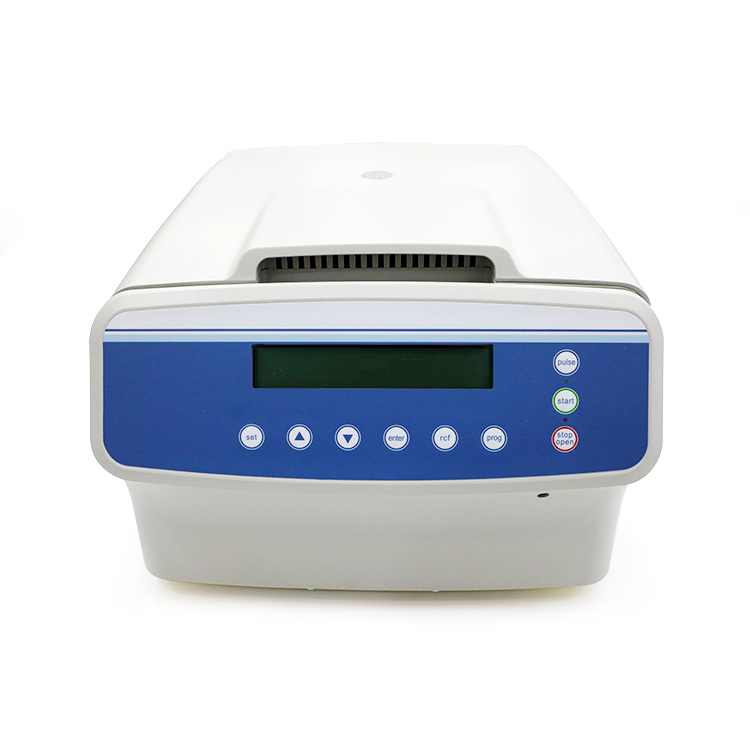
Product Description
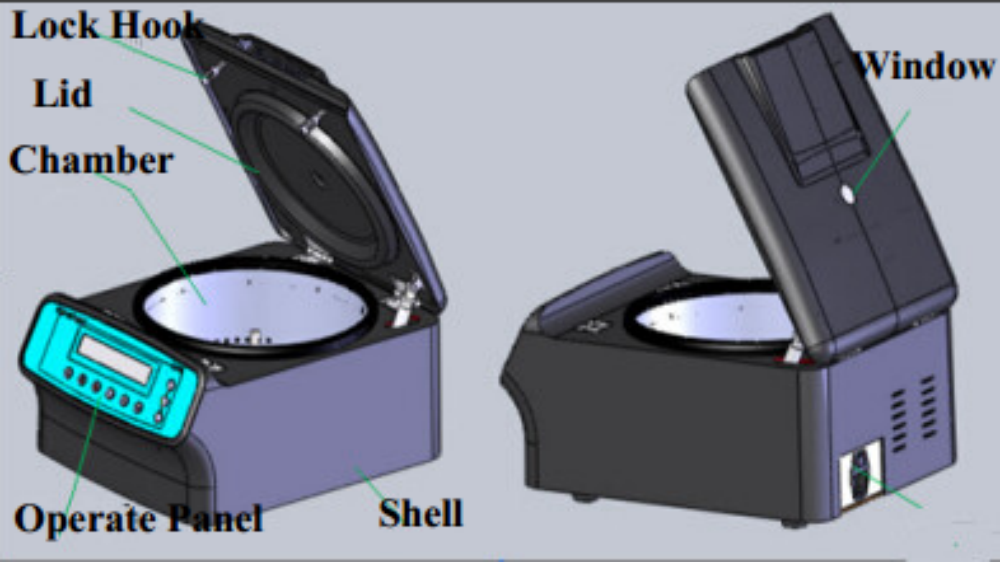
MM9 Tabletop Low speed centrifuge composed of the main machine and accessories. The main machine is composed of Shell, centrifugal chamber, drive system, control system and the part of manipulation display. The rotor and centrifugal tube (bottle) belong to accessory (provide according to contract).
Operation Steps
1.Checking the Rotors and Tubes: Before you use, please check the rotors and tuber carefully. It is forbidden to use the cracked and damaged rotors and tubes; it may cause the machine damage.
2.Install Rotor: Take the Rotor out of the package, and check whether the Rotor is ok and without any damage or deformation during the transport. Hold the Rotor by hand; put the Rotor on the Rotor shaft vertically and stably. Then one hand holds the Rotor Yoke, other hand screw the Rotor tightly by the spanner. You must make sure the Rotor is installed tightly before use.
3.Add Liquid in the tube and put the tube: When add the sample in the centrifuge tube, it should use the balance to measure the same weight, then put into the tube symmetrically, in the rotor the weight of the symmetrical tube should be the same weight. The centrifugal tube should put symmetrically, otherwise, there will be vibration and noise because of imbalance.(Attention: the tube put should in even number, such as 2, 4, 6,8 and so on )
4.Lid close: Put the Lid down, when the Lock hook touch the inductive switch, the Lid will automatically lock. When the display board display the Lid in the close mode, and then it means that the centrifuge is closed.
5.Set the parameter of the Rotor No, speed, time, Acc, Dec and so on.
6.Start and Stop the centrifuge:
Warning: Before inspect the chamber and take out of all materials except for the rotor, do not start the centrifuge. Otherwise, the centrifuge may be damaged.
Warning: It is forbidden to run the rotor exceed of its max speed, because over-speed may cause instrument damage and even the personal injury.
a)Start:Press the key to start the centrifuge, and then the Start Indicator Light will be light.
b)Automatically stop: When the time count down to “0”, the centrifuge will slow down and stop automatically . When the speed is 0r/min, you can open the Lid Lock.
c) Manually stop: In the running status (the working time isn’t counted down to “0”), press the key, the centrifuge will start to stop, when the speed slow down to 0 r/min, you can open the Lid.
Attention: When the centrifuge is running, while the Power is suddenly off , it will cause the electrical lock can’t work, so the Lid can’t open. You must wait the speed stop to 0 r/min, then open it by Emergency way (Poke into the Emergency lock hole by using the inner hexagon spanner which along with the centrifuge Tools, aim at the Inner six angle Lock hole of the centrifuge, clockwise rotate to open the Lid).
7.Uninstall the rotor:When replacing the rotor, you should uninstall the used rotor, unscrewing the bolt with screwdriver and take out the rotor after removing spacer.
8.Shut off the Power: When the work is finished, then shut off the power and pull off the plug.
After the last using of the Rotor everyday, you should uninstall and take the rotor out.
Operation Steps

Related Products
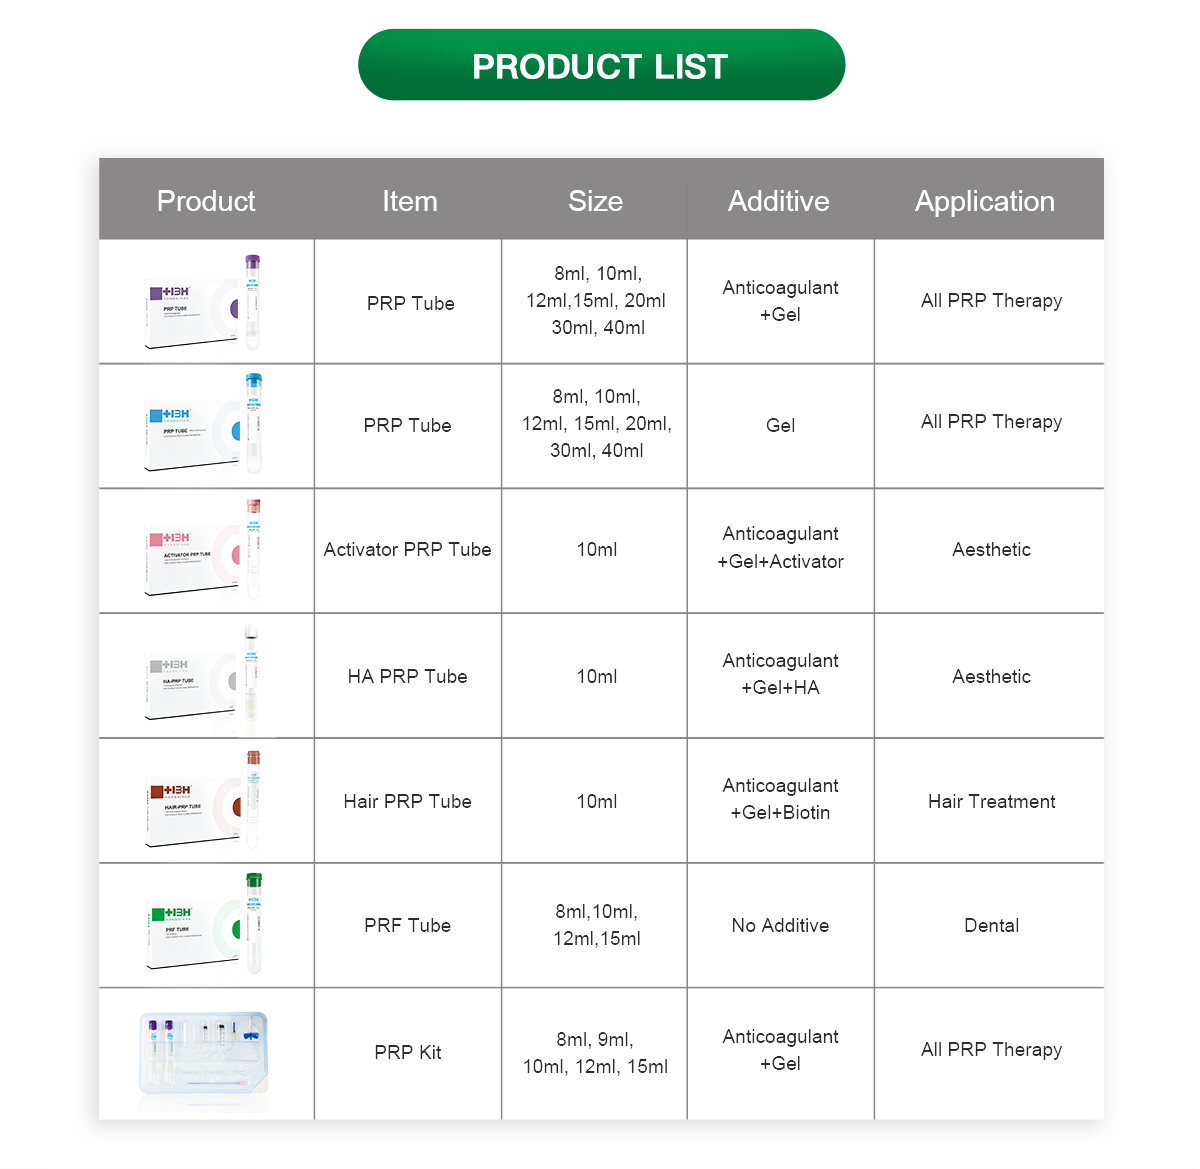
Related Products